Prerequisites
Morphik Server
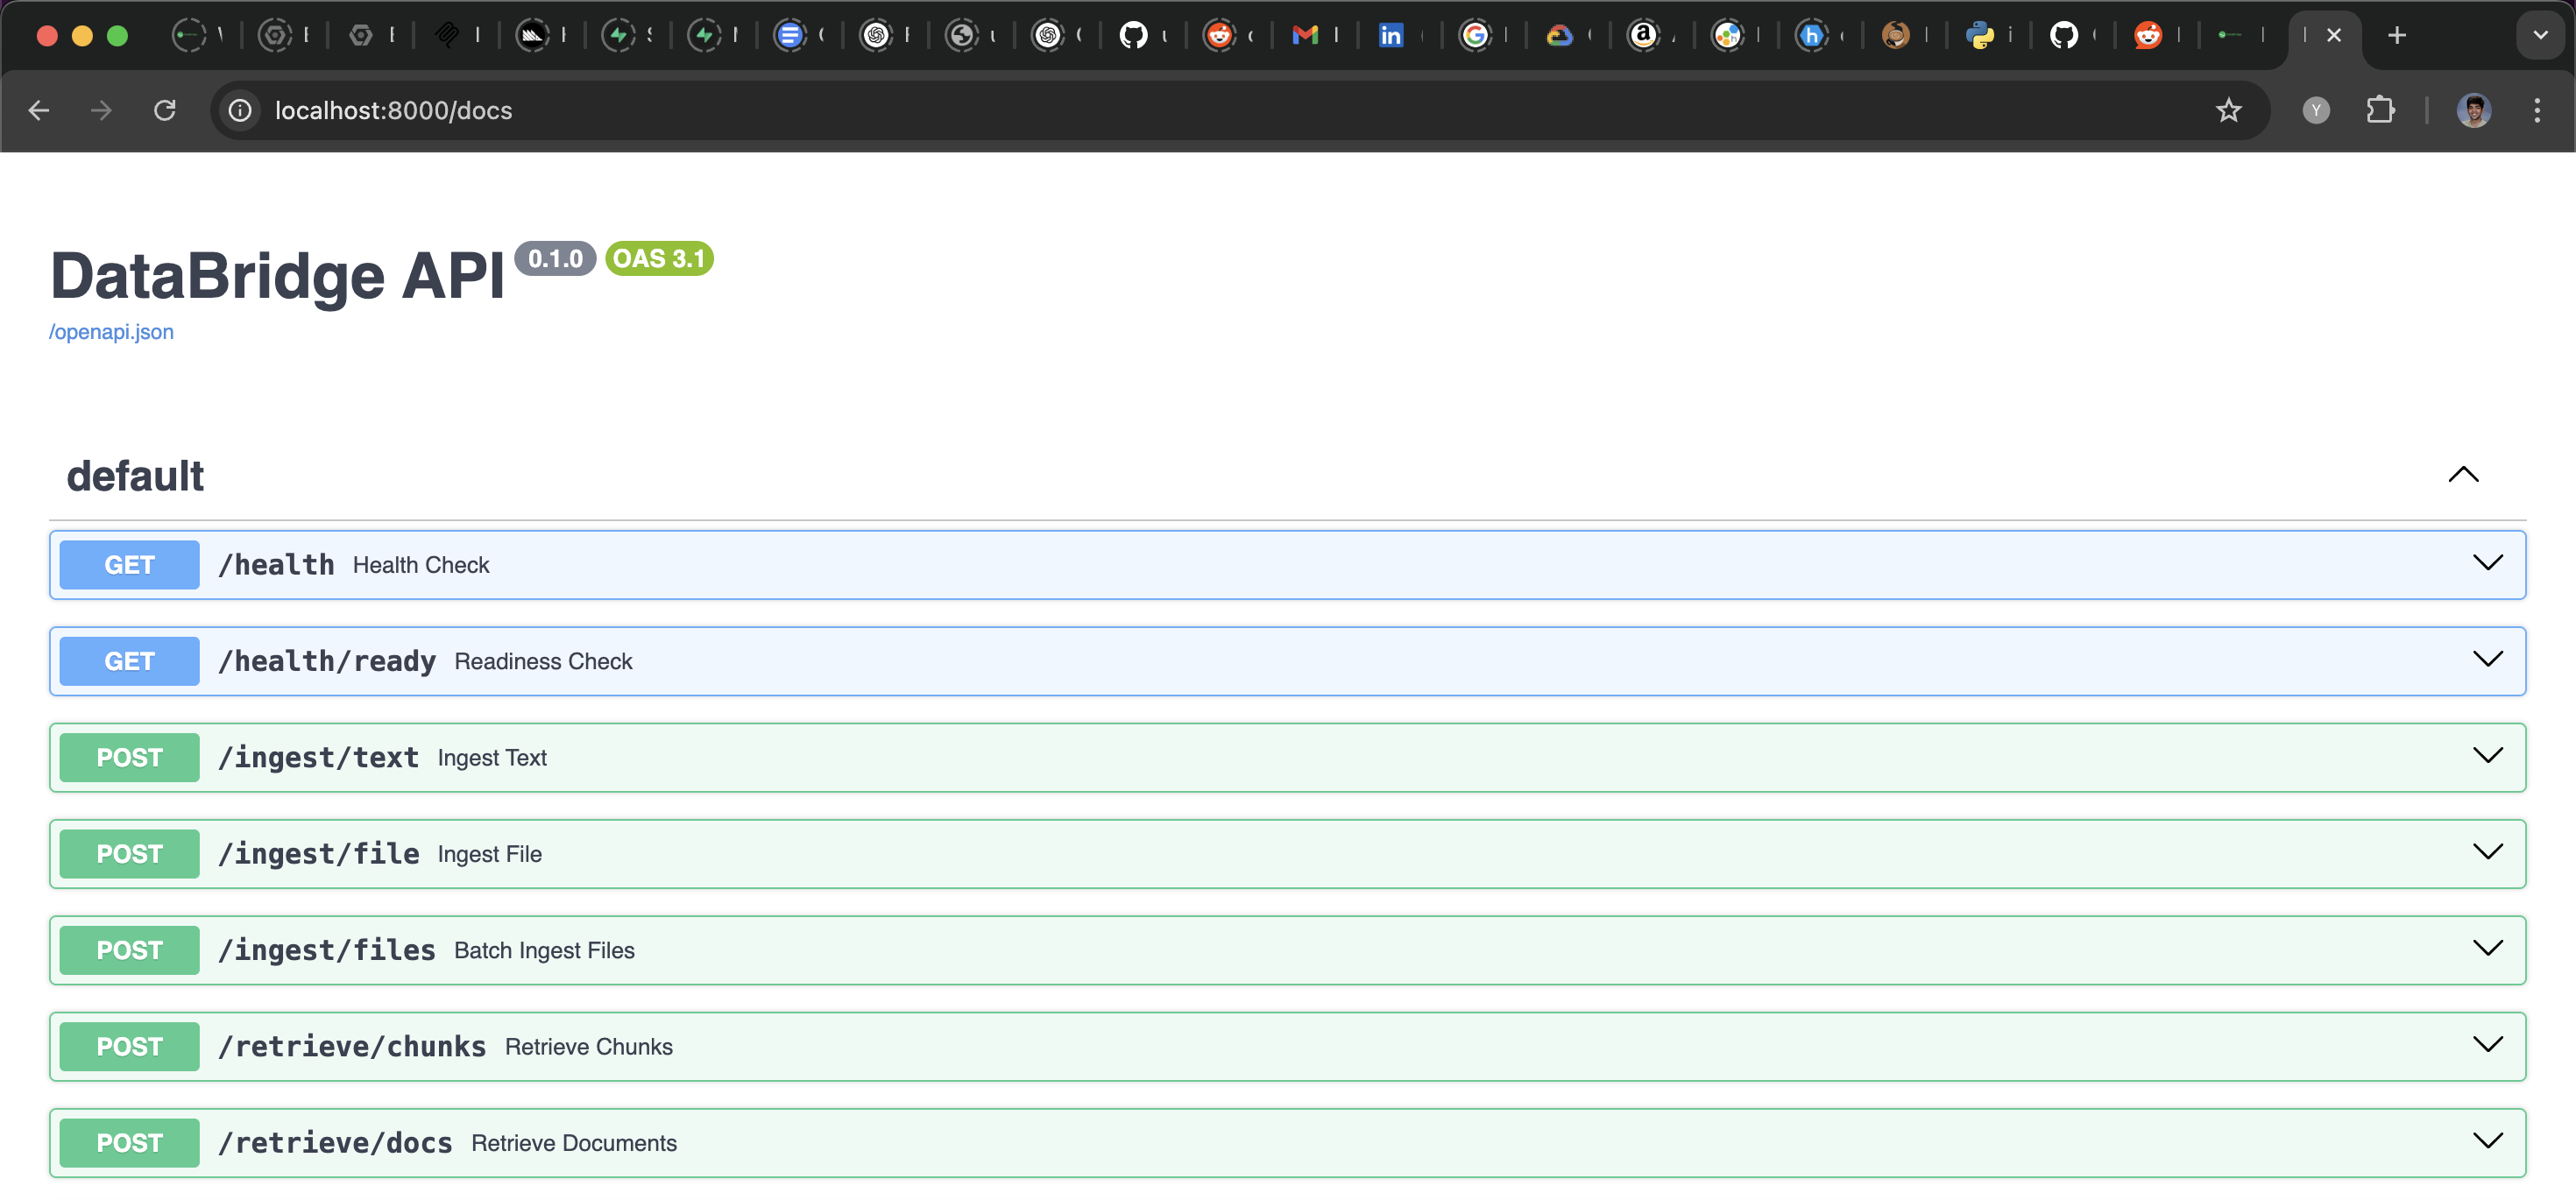
Before you begin, ensure that you have the Morphik server running. You can do this by following the instructions in the Getting Started guide. To verify that the Morphik server is running, check the[api] section in the morphik.toml file (found in the root of the morphik-core repository). If you see the server options when you open http://<host>:<port>/docs, then the server is live! By default, the section should look like:
http://localhost:8000/docs to access the Morphik docs. Here’s what it should look like:
Node and NPM
In order to launch the UI, ensure that you havenode and npm installed. A good way to check this is just by running node -v and npm -v in your terminal. If you don’t have them installed, you can install them using the following instructions:
- macOS
- Windows
- Linux
Install Node.js on macOSUsing Homebrew:
Running the UI
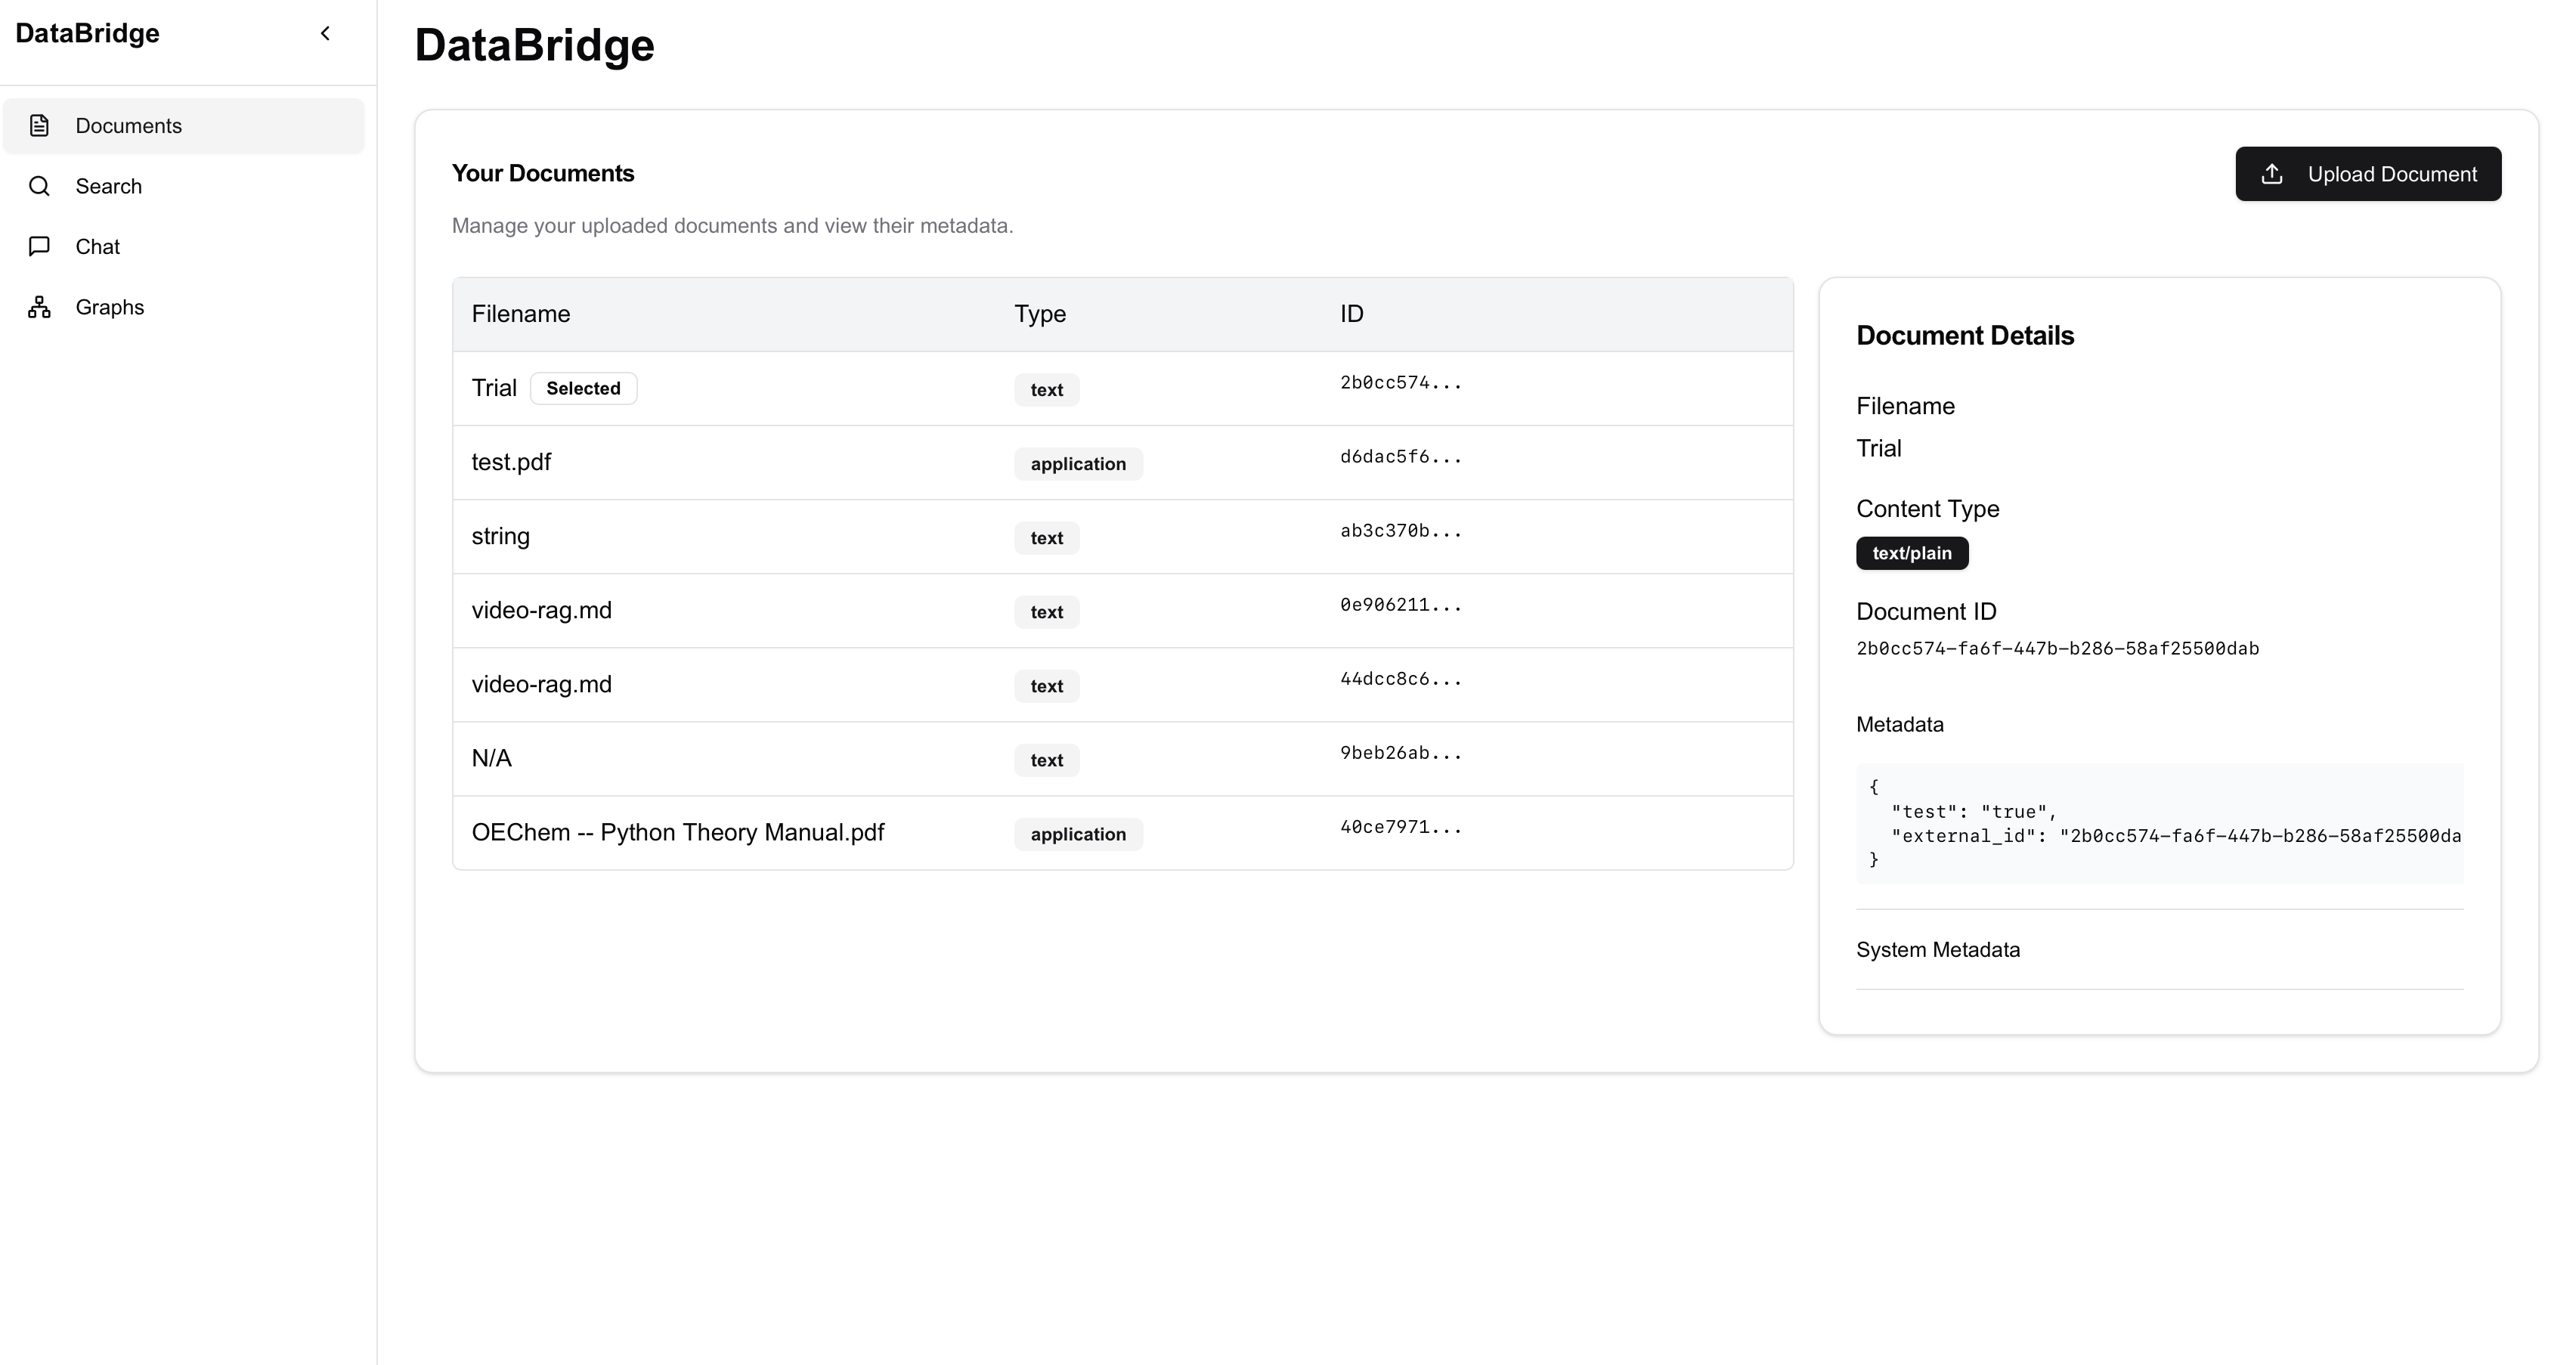
You’re ready to launch the UI once you have the server running andnpm installed. In a new terminal (ensure that the server is running and not stopped), navigate to the root of the morphik-core repository that you launched the server from. From here change directory into the ee/ui-component folder:
http://localhost:3000, and you should be greeted with Morphik’s UI! It should look something like this:
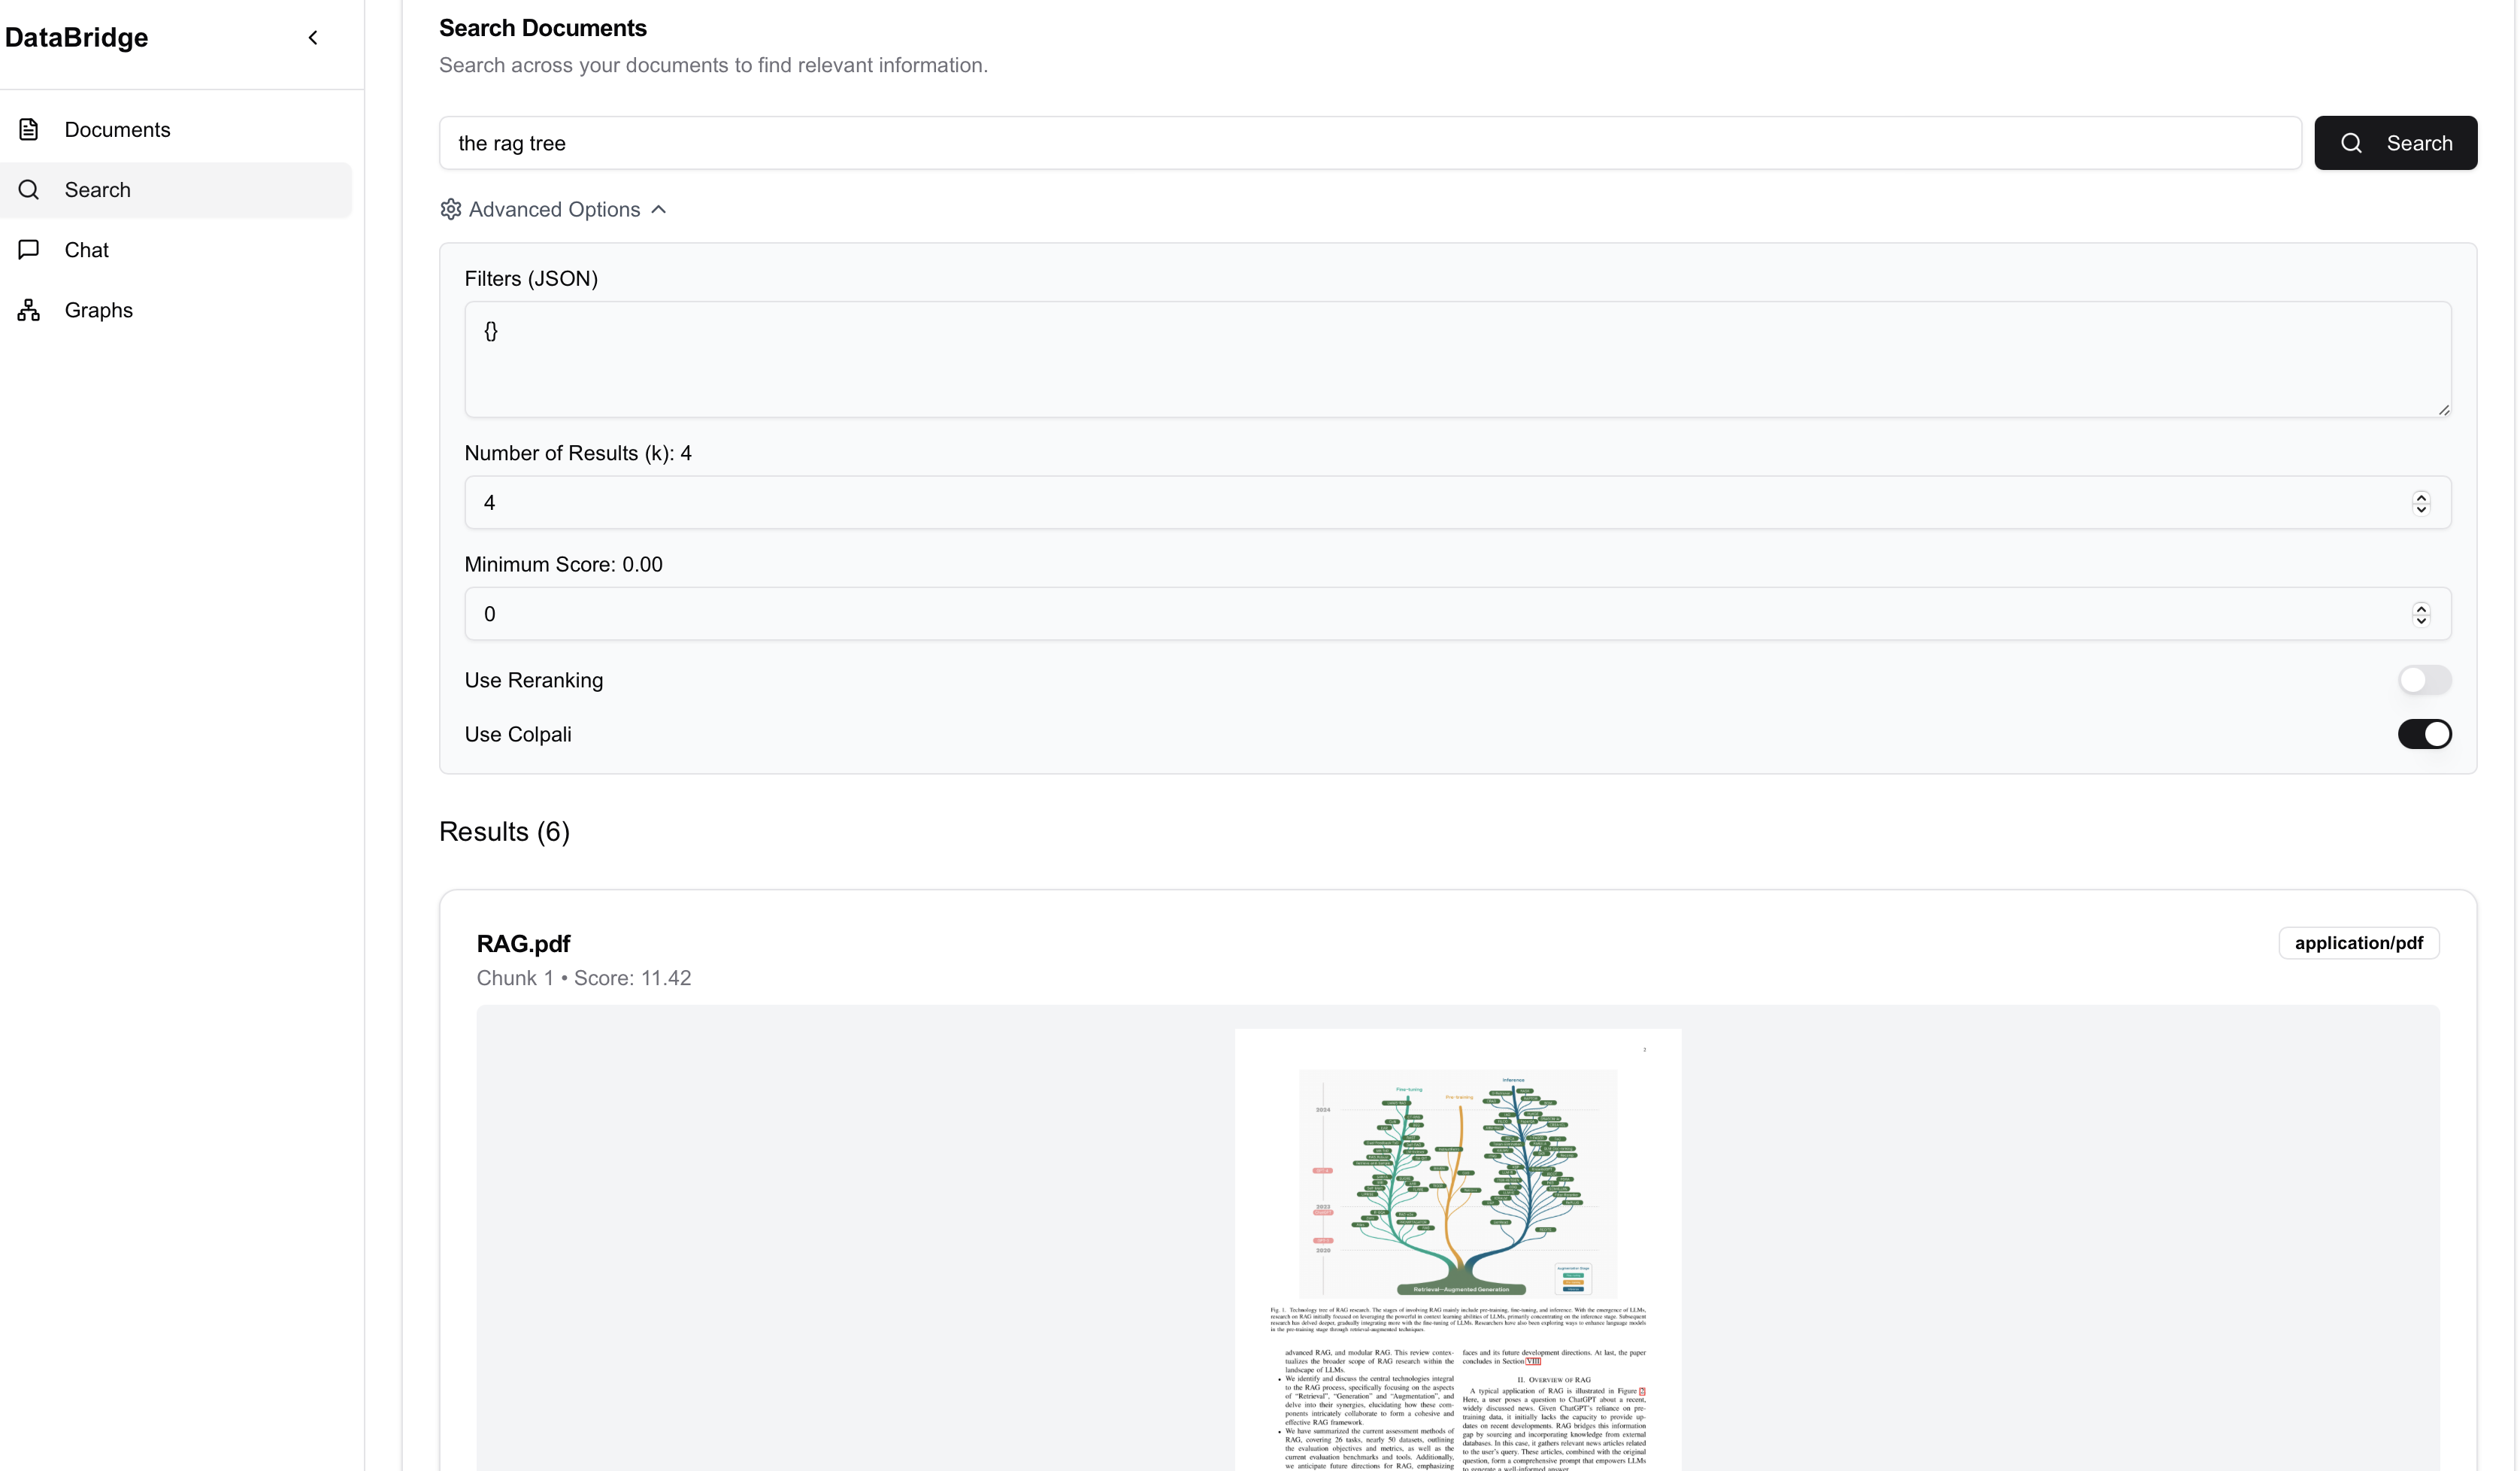
Using the UI - Features we ❤️
Morphik has support for automatic metadata extraction at file ingestion time. You can define ajson schema, and then Morphik will automatically extract the metadata from the file: